Things are looking up around here, for one reason, we are finally having our ancient furnace, it’s in the attic, replaced. We haven’t used it in several years and though we don’t have horribly cold winters, I’m cold if it’s below 75° and the hands don’t work well with they’re chilly. Space heaters have helped but our old kitty and I are ready for the warmth!
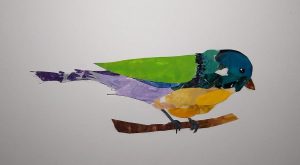
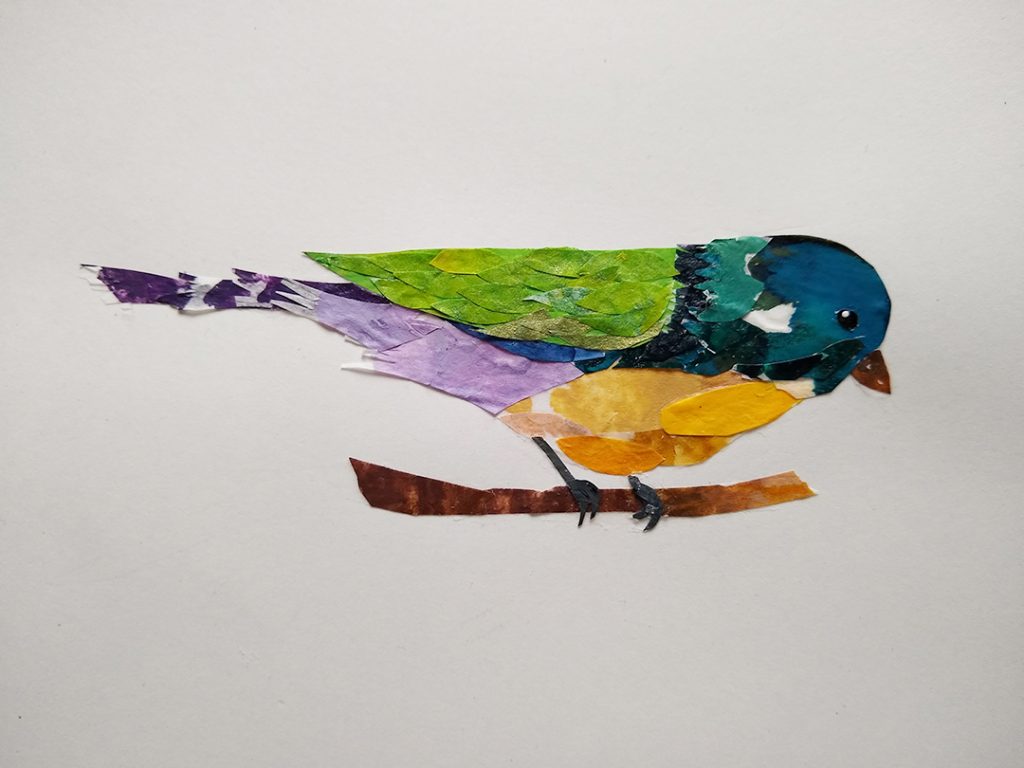
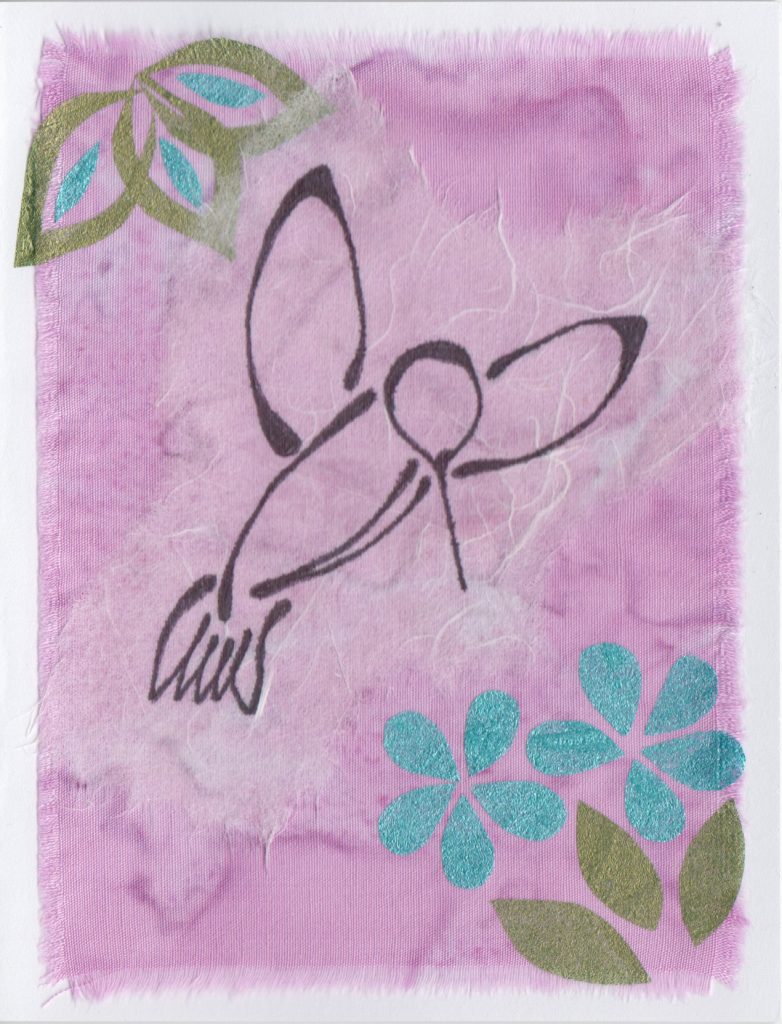
You may remember the cut collage bird I made a while ago using my daughter’s (dry) wet palette papers (mostly). The green wing needed help so I used some of my painted papers. I like it better now and it will probably end up on a notecard.
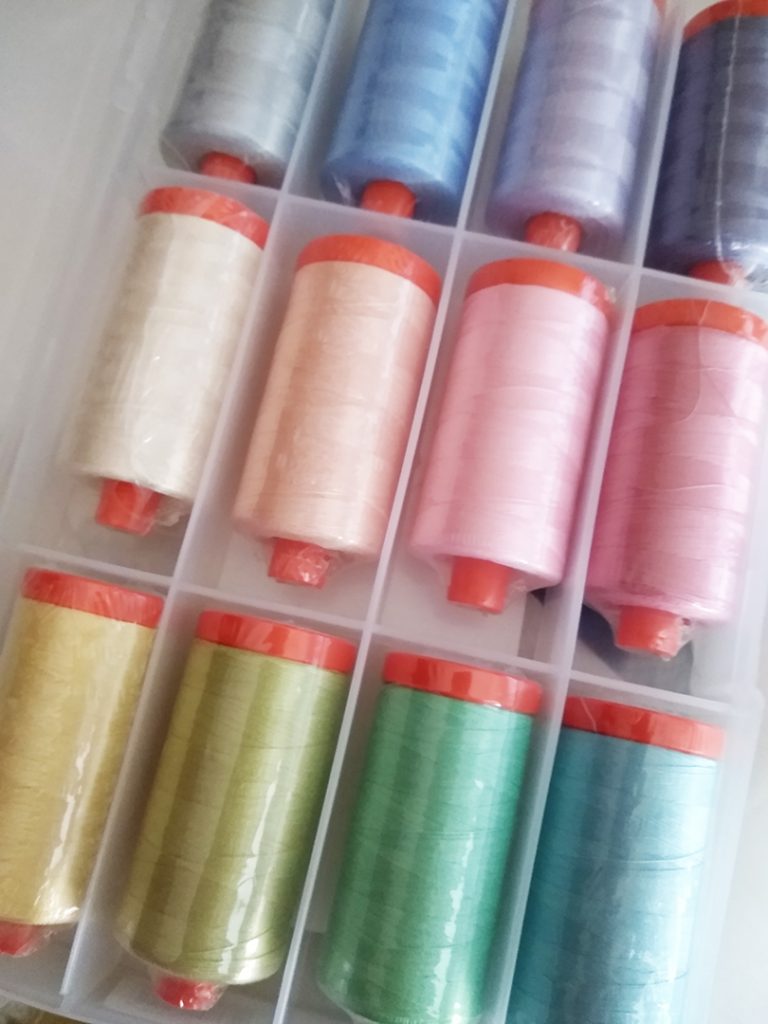
I started celebrating my birthday early; my (adult) kids surprised me with this box of Aurifil thread. It’s so pretty I haven’t even opened the plastic wrap yet!
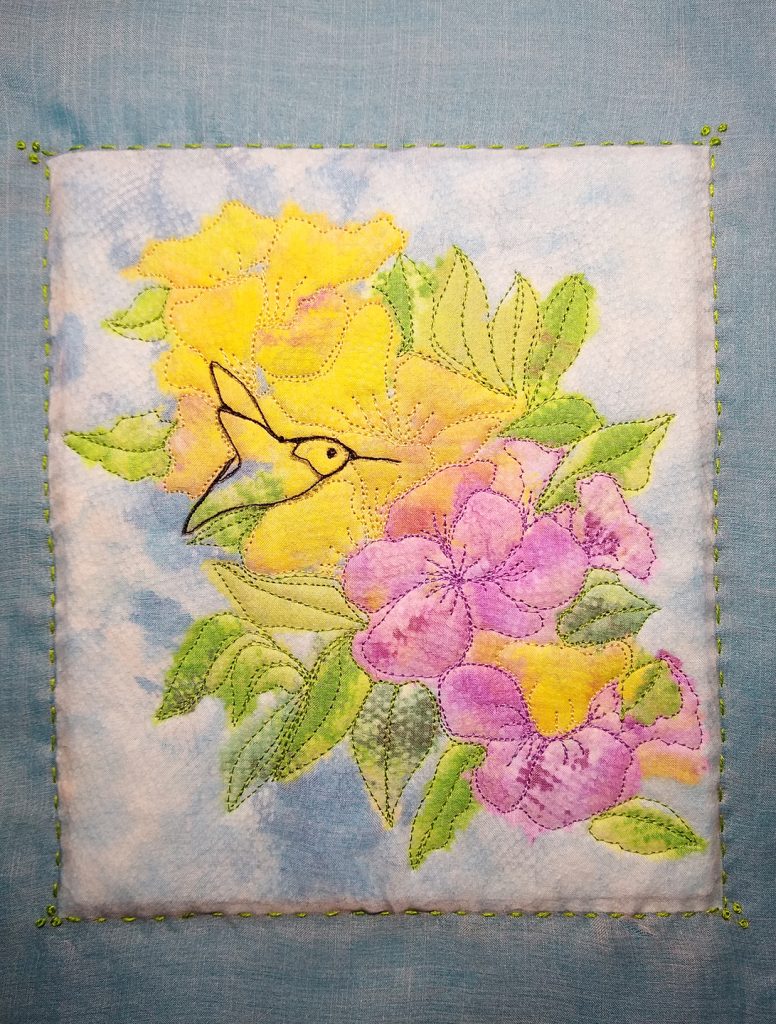
I’m working on a project for a private class I’ve been asked to teach. I’m planning on including a stamp in the project so I’ve cut more rubber stamps and one is a little hummingbird. I decided to use this stamp in another project made especially for this giveaway announcement post.
I filmed some of the free-motion quilting for this hummingbird project but haven’t had time to edit it yet. Here are some images of the process and the almost finished piece. I haven’t decided exactly how I’ll finish it for hanging.
The photos are taken with my phone so sorry they’re not the best.
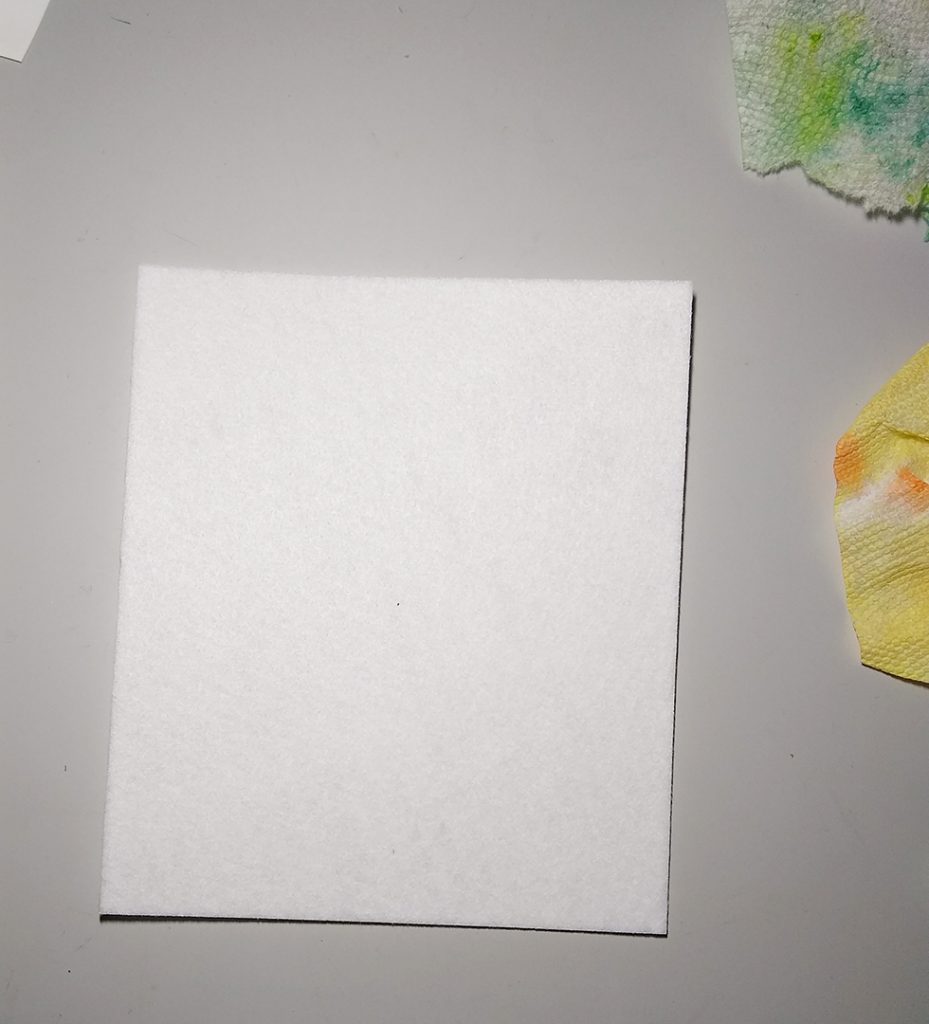
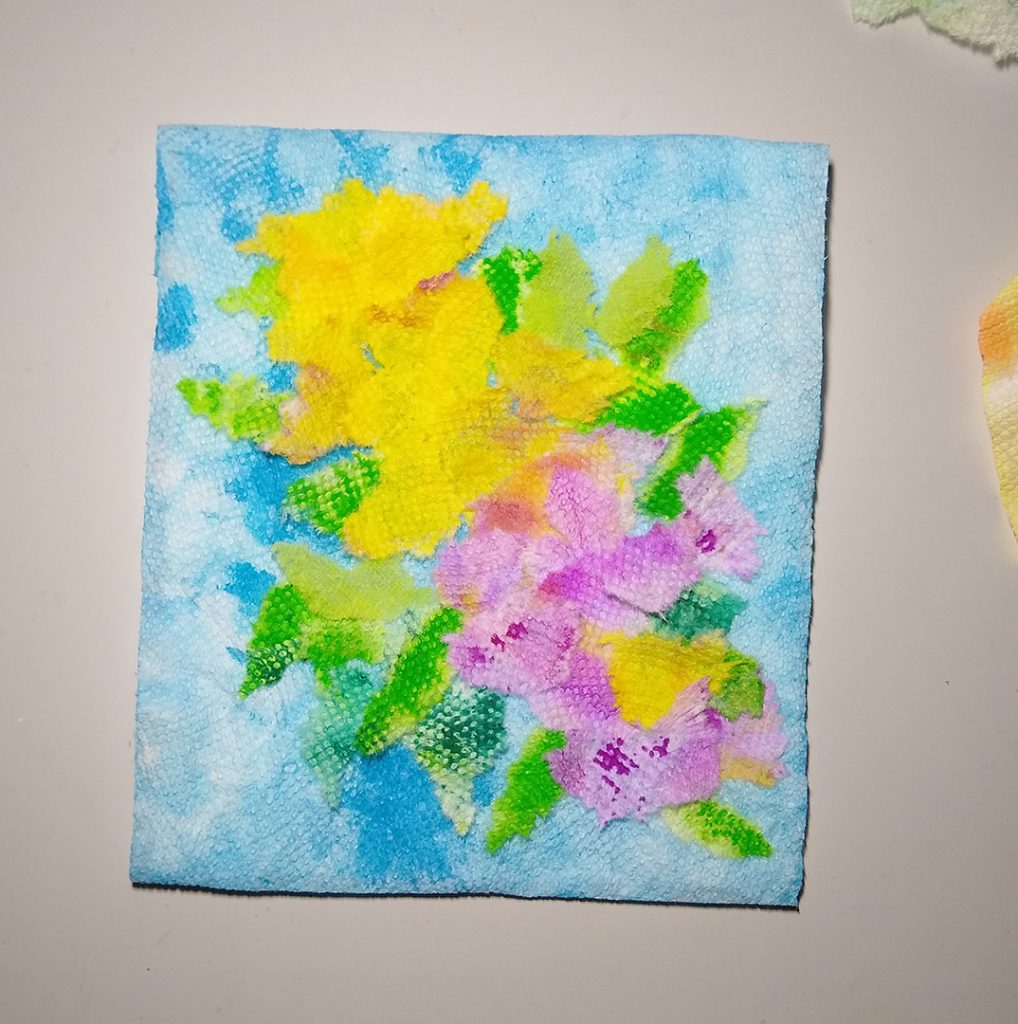
I started with a piece of Timtex cut to about 6″ x 7″ and “mop-up” painted paper towels I’ve been saving.
I placed a whole piece (one ply) of paper towel over the Timtex and tore other paper towel up then arranged it in an abstract floral design.
I set that aside and used black textile paint for the hummingbird on a piece of silk organza. Stamping outline stamps on silk organza is a hit or miss… without stabilizer organza wiggles! I knew I’d be quilting over it so it was no big deal that it didn’t turn out the best.
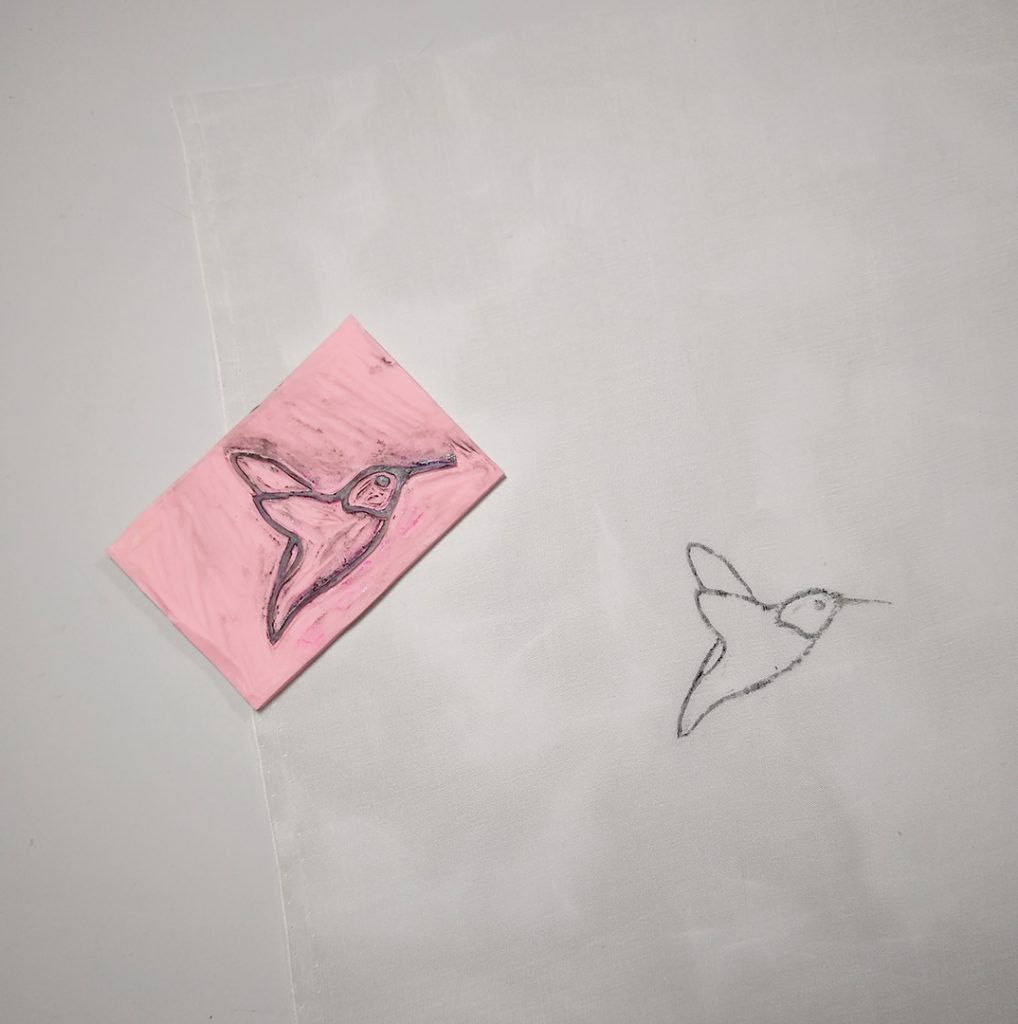
So that the hummer would be about where I wanted it, I center and laid the organza on top of the paper towel pieces and placed silk pins at the tip of the wing, tail, and the beak. Then I removed the Timtex/paper towel piece and dabbed paint on the stamp, lined up the silk pins with the stamp and laid the organza on top, and sort of burnished it with a little piece of parchment. Hindsight – press organza to freezer paper and then stamp down onto the fabric as usual. Sorry if that is difficult to understand, I think I’ll have to video it if I do it again.
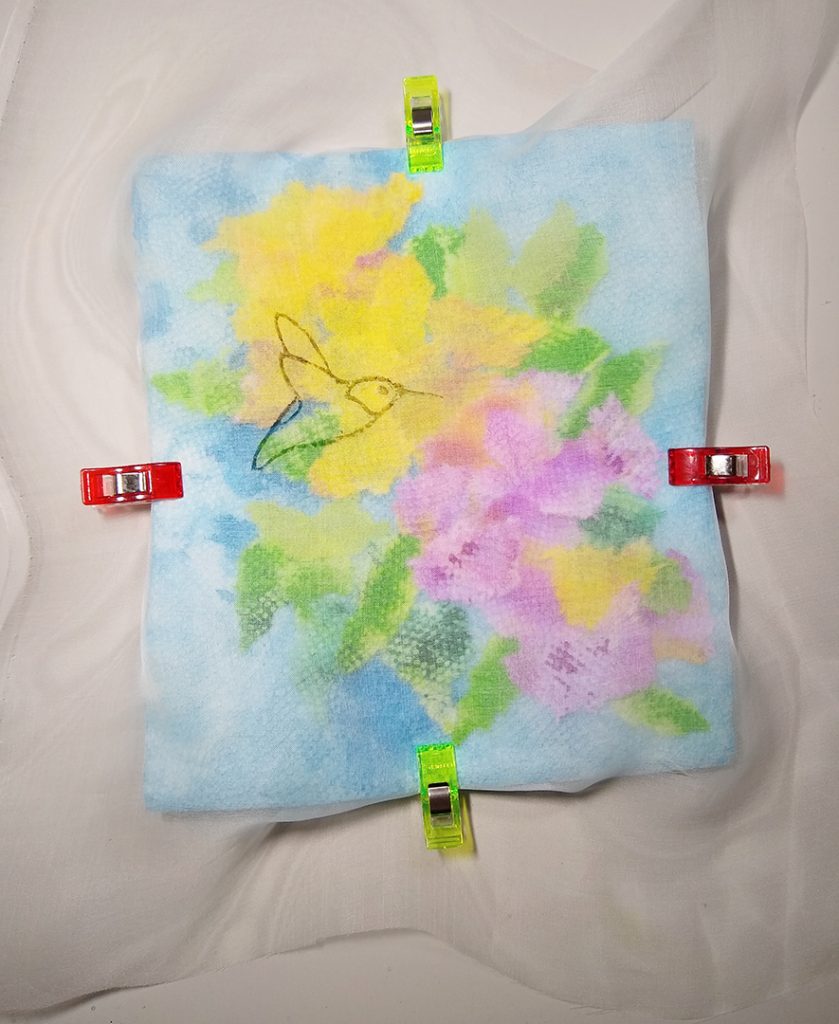
I let the paint dry for a few minutes, then clipped the organza to the Timtex so I could free-motion quilt, starting with the hummingbird. Below is the free-motion quilting finished.
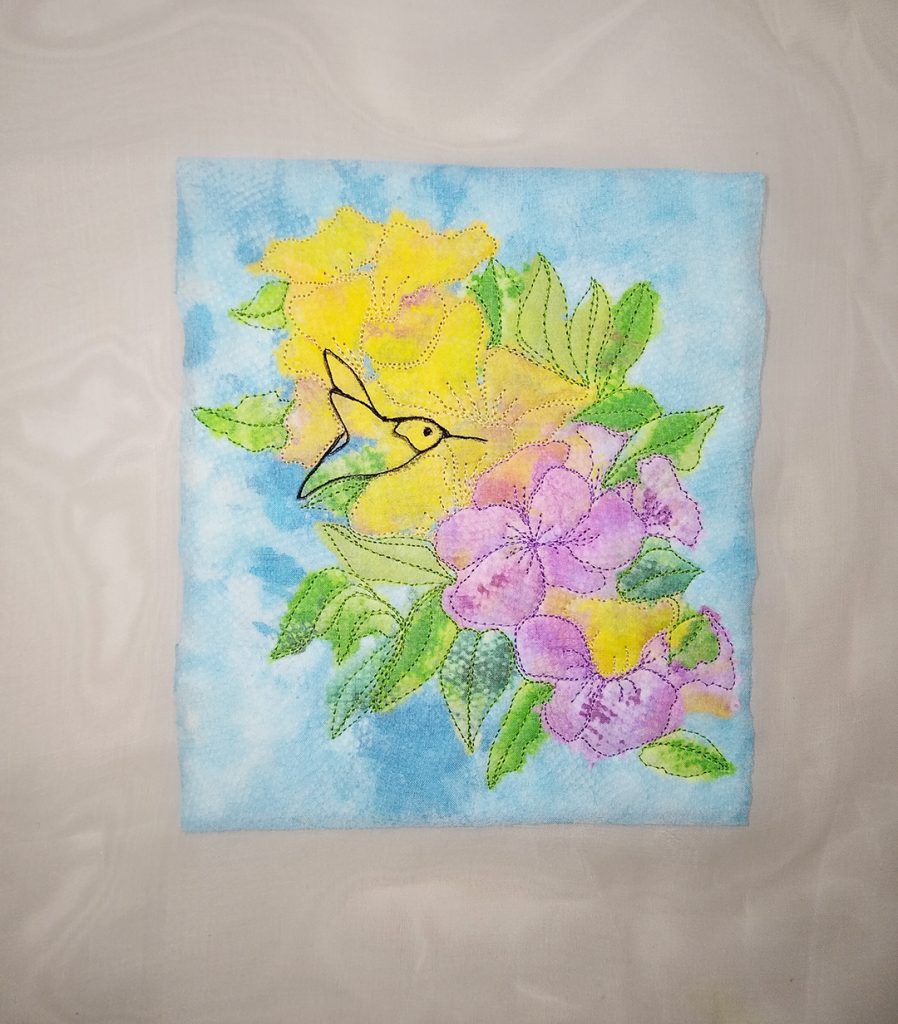
I put black felt behind it and didn’t like it at all so changed to blue (it’s actually more turquoise than it looks in photo). I tried to straighten and trim up the organza but since I’m still not sure where this is going I left it longer on the side. This felt didn’t look good without the organza over it (too bright).
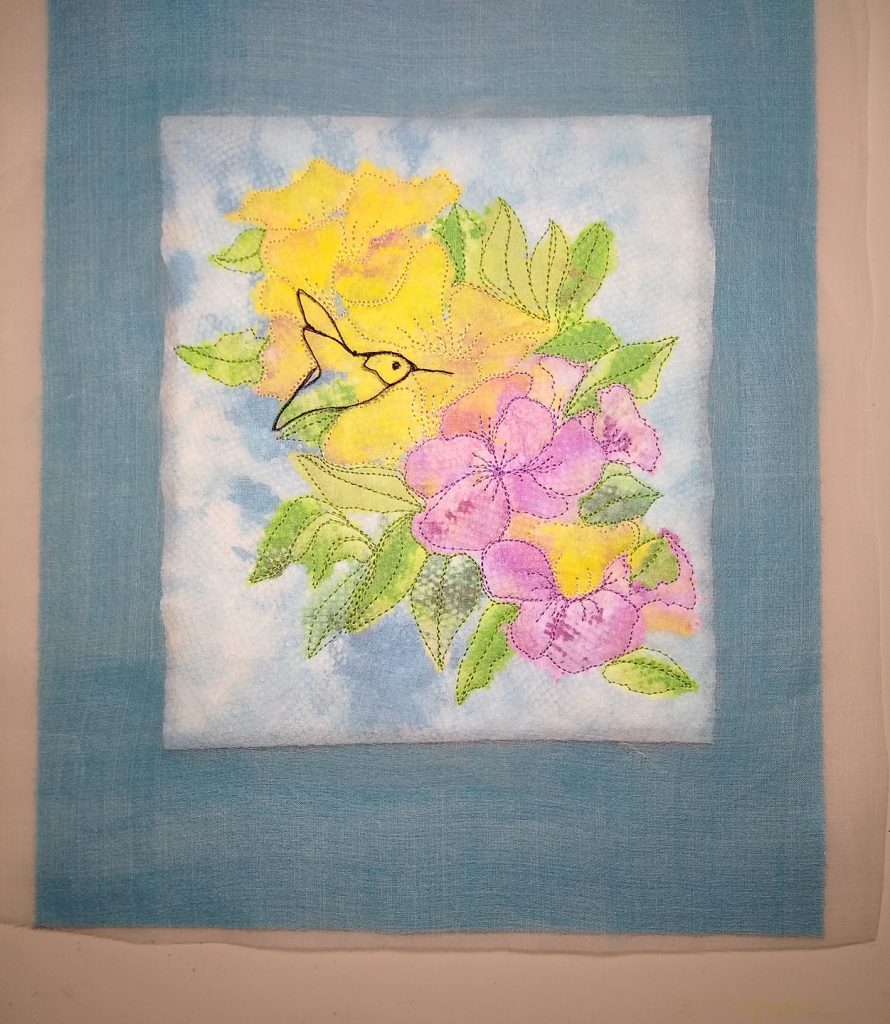
I added a little embroidery around the edge of the Timtex with French knots at each corner. I think I want to add more. I’ll take better photos when it is finished.
Now the sweepstakes/`giveaway – I’d like to thank all who commented and because only two of you entered the hummingbird notecard set giveaway, I have decided to give Joy and Karen each a set of Hummingbird notecards. Whether you keep them or give them away, I hope you enjoy them as much as I enjoyed making them. Please email your mailing address to me (even if you have in the past).
Sweet!!! Thank you, Ann! (If I can part with them) My MIL is going to be thrilled with receiving the set of cards you send. She is a big time bird lover!
A working furnace is not optional in Ohio. It’s a must have. Yes, organza benefits from a freezer paper backing. Great use of your mop up paper towel.
It’s nice to know someone else may be enjoying the cards too. I appreciate you taking the time to check out my blog, thanks.
Thank you, Joanna. As I think you know, I’m a weather wimp! I’d like to do a large canvas with the paper towel but the glue/medium idea stops me. Do you think the glue both sides technique, and then iron would work on a canvas? Or would it need to be a panel or what?
Are you talking about by the yard canvas? I’ve stuck paper onto heavy fabric with gel medium, coating both the fabric and the back side of the paper. You can finish off the paper with a top coat of medium as well. The technique with gloss medium and an iron may not give enough adhesion on fabric.
I meant already stretched canvas. I think there would need to be some support under the canvas/fabric area during pressing. My thought of just applying gloss medium to small pieces of paper towel may not be the best idea, sticking to fingers and all! Thanks for the reply.
Fantastic results and I really liked hearing the process you used to make the hummingbird art!
I’m happy knowing that, thank you!