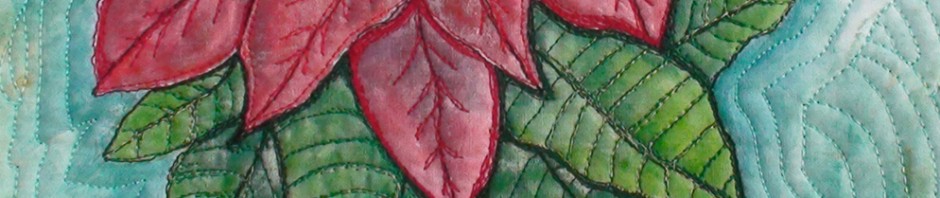
I’m happy to let you know that my video – “How to Make a Painted and Quilted Poinsettia Wall Hanging” is up on YouTube! It is three videos that include thirteen sections from how to stiffen the fabric, to painting and quilting, to attaching the branch for hanging. I used the quilled fabric beads from… Continue reading Poinsettia Wall Hanging
Tag: quilling
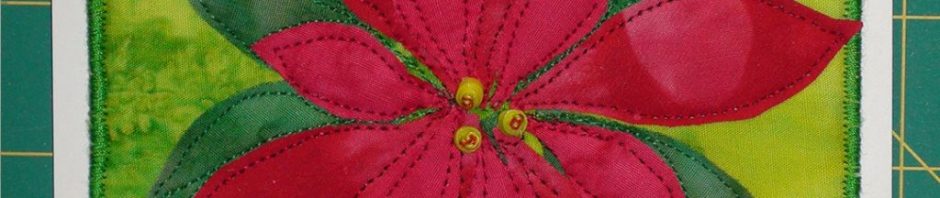
How to Make Quilled Fabric Flower Center Beads
Poinsettia Painting on Fabric
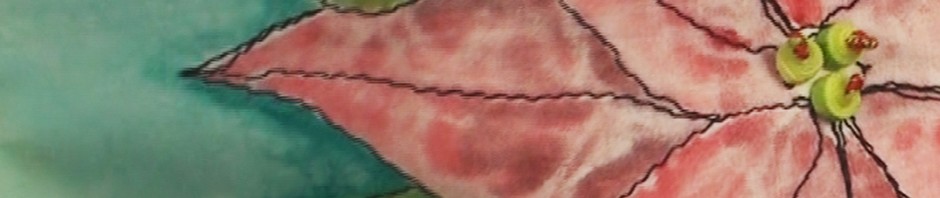
I’m working on some new online lessons which will include handmade fabric bead flower centers, free motion quilted poinsettia, and painting the poinsettia. Each of these techniques is accomplished using fabric treated with Terial Magic spray stabilizer. Here is a sneak peek of the poinsettia in progress. I look forward to sharing more about this… Continue reading Poinsettia Painting on Fabric
More fun with quilling fabric
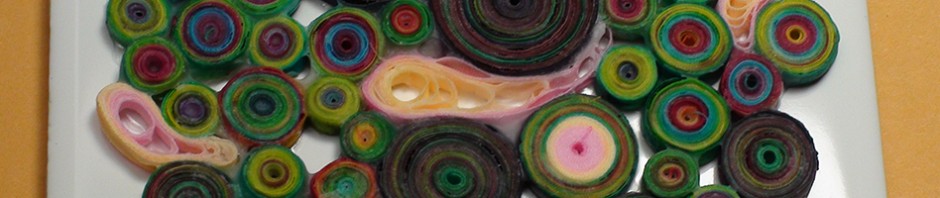
I made more coils and left them tightly coiled instead of making flowers. Then I turned them into a coil mosaic. I’m still fine tuning this process. The fabric is first treated with Terial Magic (TM) which makes the fabric stiff like paper. The trick is to use the right amount of glue (glue sticks… Continue reading More fun with quilling fabric
Fabric Quilling

I seems to have taken a detour which means I started working on something I didn’t plan to. Before I get back to where I should be going, which is creating a new mini landscape, I thought I’d share this. I treated some of my hand painted fabric with Terial Magic, a neat spray that… Continue reading Fabric Quilling