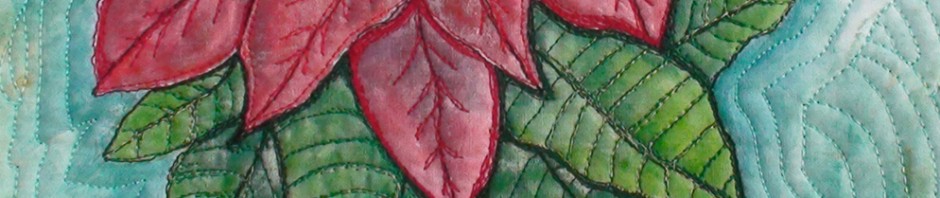
I’m happy to let you know that my video – “How to Make a Painted and Quilted Poinsettia Wall Hanging” is up on YouTube! It is three videos that include thirteen sections from how to stiffen the fabric, to painting and quilting, to attaching the branch for hanging. I used the quilled fabric beads from… Continue reading Poinsettia Wall Hanging
Tag: whole cloth
Not Just for the Holidays…
I have been have fun in the studio creating a this new piece. Soon I will be offering the online step by step lessons for creating this pretty poinsettia wall hanging (painting, stitching, and more) . I’ll teach how to make the flower center fabric beads too. The techniques could be used to make any… Continue reading Not Just for the Holidays…
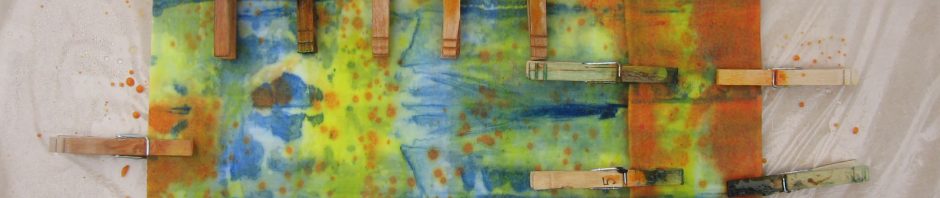
Paint or Dye
I was enjoying the posts over at The Snarky Quilter’s (SQ) blog where SQ and a friend share their steps and early results following Mickey Lawler’s techniques to create some painted fabric. They made some neat fabric pieces and a little discussion ensued regarding painted fabric. SQ commented that painters working in oil also paint… Continue reading Paint or Dye
New Curious.com Lessons
I’m excited to have two new lessons on Curious.com/fiberdesignsbyann. One is How to Create Hand Painted Fabric and the other is How to Make a Fabric Hurricane! The hurricanes are made using my hand painted fabric that was treated with Terial Magic (TM). I’m working on more project lessons using my hand painted fabric and… Continue reading New Curious.com Lessons
Heart Art: A Tutorial
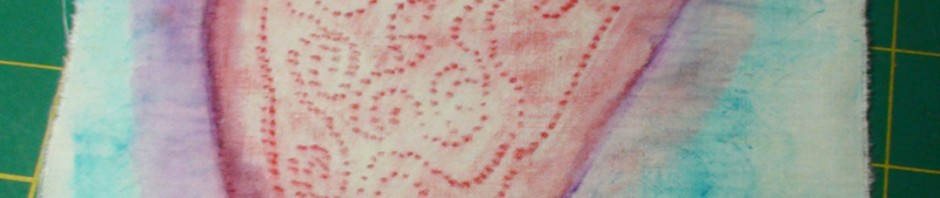
I thought I would take a little break from my deadline work and play a bit. I’m not usually a heart art kind of person but this was fast and fun. I’ll leave it to you to think up ideas of where the finished heart could be used… maybe a tiny art quilt, on a… Continue reading Heart Art: A Tutorial
Titling an Art Quilt
Giving an art quilt a title is often a challenge for me and this one was no different. I asked the guys here to tell me what they saw when they looked at it and for any title ideas. Each shared his thoughts and ideas and though it was fun to hear what the piece… Continue reading Titling an Art Quilt
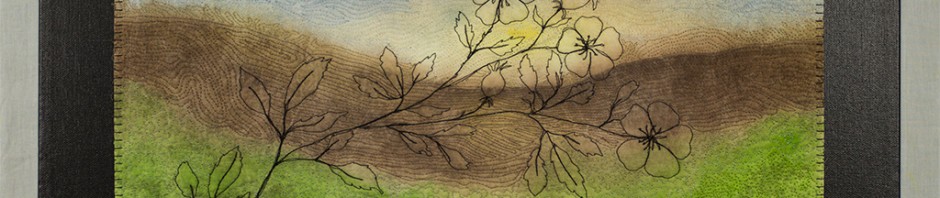
Watercolor washed rubbing…
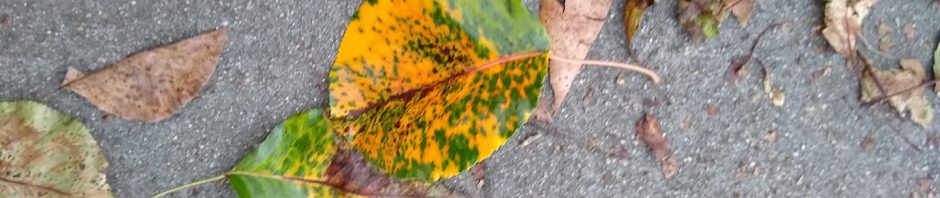
You may have read on one of my earlier posts that we have leaves stamped into our patios and that I have used them as inspiration for some of my art.Below are the steps to creating what will be a small art quilt OR a piece that could be incorporated into a larger piece. I… Continue reading Watercolor washed rubbing…
And onward I go…
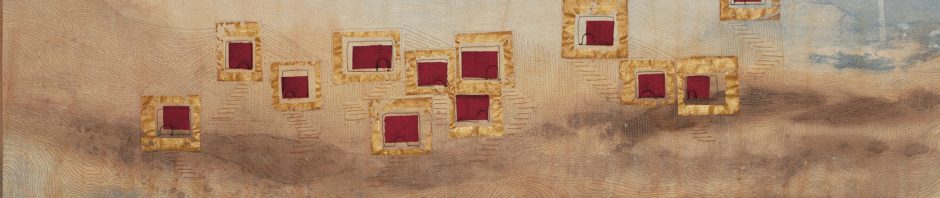
I have received my “not accepted” notice so I can share this now. Dwell is a landscapeOf ancient land and buried fossils,Of old cave homes or modern cliff mansions,Of winds and nature propelling progressive discoveries. I enjoyed the challenges of creating this art quilt and I am very happy with the completed piece. It started… Continue reading And onward I go…
New fabric
Well, I haven’t posted for a while! I have been spending way too much time in the kitchen which I love except that it keeps me from my non-edible artwork. But now it is sunny and I’m happy to be creating more in the studio. We have had down right hot days here in San… Continue reading New fabric
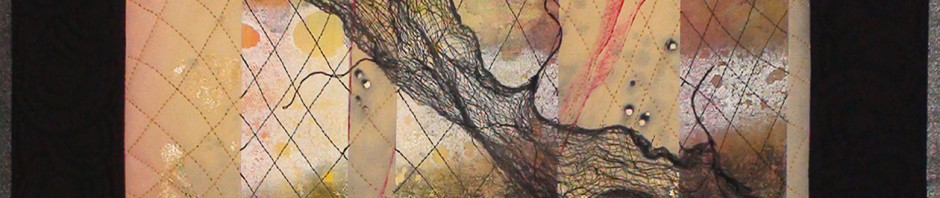
Layers and Layers
I have been working on this painted whole cloth for a while now and finding it, with it’s many layers, a challenge. I believe the best paintings have many layers but when I approach a piece of fabric (canvas), I know in the end I’m going to stitch it and that sometimes presents a problem. Many layers… Continue reading Layers and Layers