Tag Archives: terial magic

This Time of Year…

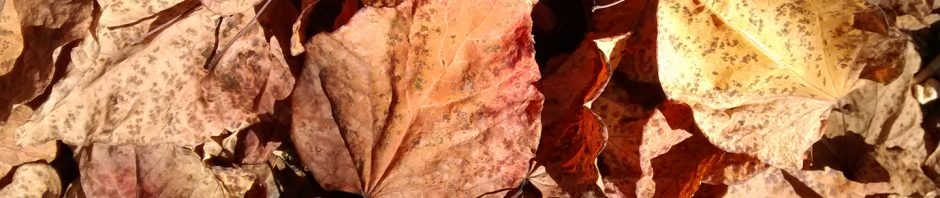
I was almost a Halloween baby having been born the day before and have always enjoyed the end of October. When our kids were little I loved making their costumes and painting their faces. My daughter is an artist and draws original cards for most special occasions around here and they usually feature a cat. The design on this little art quilt was from a birthday card she gave me a few years ago, which I enlarged, traced onto fabric, painted, layered with batik, batting and felt, then quilted. It was fun to make… I may even quilt it some more!

This tiny pumpkin is my fiber art contribution to the Halloween/Autumn festivities this year. I will be making a short video on just how I made it and later share some other projects it could be added to (Here it is on a greeting card with free-motion stitching).

Painting Fabric Pinwheels

I rarely make patriotic art but I wanted to make pinwheels using fabric and paint and since the 4th of July is approaching this turned out to be one of those rare occasions.

I reached for the Terial Magic spray stabilizer. It worked great, making the fabric behave like paper. Here is the finished piece and the step I took to make the pinwheels…

I like how the pinwheels seem to be lifting the pot off the ground like a hot air balloon!

I started by treating white fabric with Terial Magic and cutting three inch squares.

Apply star stickers (I made these) to treated white fabric.
Use a sponge and acrylic paint, dab over the entire surface.
Let dry (it dries quickly) and remove stars (if the stars are still sticky save for other projects).
Cut a wavy line through card stock to make the stencil.
Flip the square over and use another color paint and a sponge to dab just to one side of the stencil (for a less formal stripe).
For a more formal stripe – after cutting a curvy line in the card stock, tape the two pieces together leaving a 1/4″ gap.
Once the piece is dry fold it in half diagonally, open out and fold the other direction corner to corner again.
Now cut from the outside corners to a little past half way up on each creased line.
Bring every other corner up to the center.
I apply a piece of tape to hold while I get the thread and needle ready.
Use a needle with a double length of thread and remove the tape.
Start on the back side in the center and push the needle and thread through to the front. I like to use a thimble to help push.
Catch each point in a clockwise fashion and pull thread tight. Stitch through to the back and come up again to secure.
Grab the button and stitch it on, then flip to the back and tie off the thread.
And we have made a pinwheel!

I can imagine these being painted for many occasions or used to decorate a room. They would be fun to make with kids and glue could be used instead of needle and thread.

If you make fabric pinwheels I love to see your creations!

A Little Fiber Fun

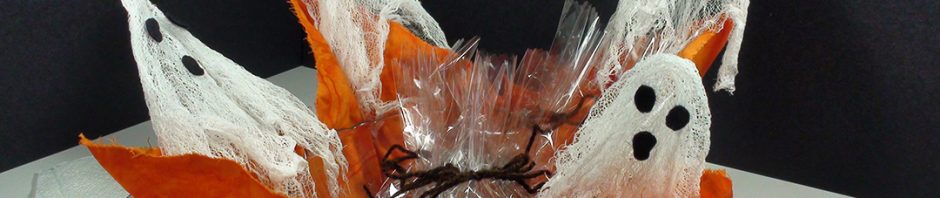
I’m finally getting back into the swings of things now that my studio has been relocated (yes, again!), maybe for the last time. Being settled in (and the time of year) gave me an itch to make something different. It’s still fiber and fabric, just not in an art quilt sort of way. If you read my blog you know I love exploring ways to use Terial Magic spray stabilizer and though I have made cheesecloth ghosts for years, using Terial Magic was so much easier than using glue or other gel medium type products.

The following tutorial is for a Halloween Ghost Candy Bowl. It is a simple and depending on your weather (it’s been in the nineties here!) a quick project. The instructions and supplies may be found here.

If you are adventurous; stitching, spiders and webbing could embellish the bowl.

hallo-ghosties-bowl-1
hallo-ghosties-bowl-2
hallo-ghosties-bowl-3
hallo-ghosties-bowl-4
hallo-ghosties-bowl-5
hallo-ghosties-bowl-6
hallo-ghosties-bowl-7
hallo-ghosties-bowl-8
hallo-ghosties-bowl-11
hallo-ghosties-bowl-10

Poinsettia Wall Hanging

poinsettia wall hanging finished

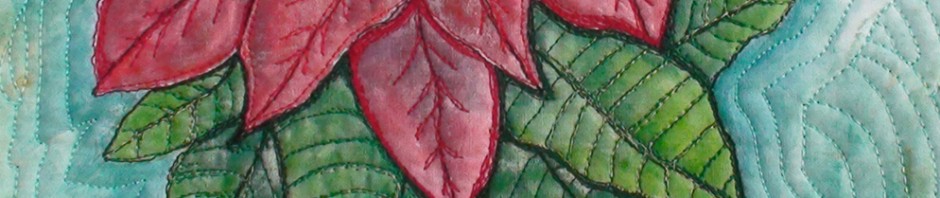
I’m happy to let you know that my video – “How to Make a Painted and Quilted Poinsettia Wall Hanging”  is up on YouTube! It is three videos that include thirteen sections from how to stiffen the fabric, to painting and quilting, to attaching the branch for hanging. I used the quilled fabric beads from my previous video lesson for the poinsettia center.

I hope you will check out my YouTube channel and take a look at my new and older videos. And if you do – Thanks for watching and thanks too for visiting my blog.

Quilting and Painting Away, Ann

Not Just for the Holidays…

I have been have fun in the studio creating a this new piece. Soon I will be offering the online step by step lessons for creating this pretty poinsettia wall hanging (painting, stitching, and more) . I’ll teach how to make the flower center fabric beads too. The techniques could be used to make any flower or most any design…. For any season!

poinsettia wall hanging finished

Poinsettia Painting on Fabric

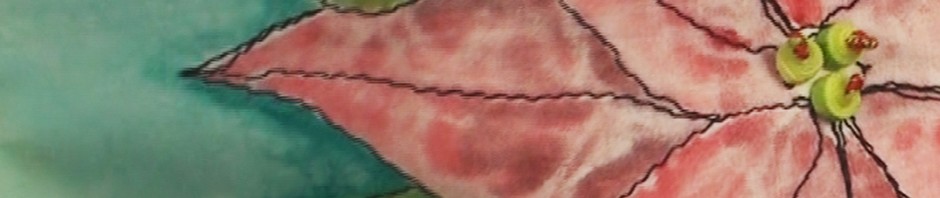
I’m working on some new online lessons which will include handmade fabric bead flower centers, free motion quilted poinsettia, and painting the poinsettia. Each of these techniques is accomplished using fabric treated with Terial Magic spray stabilizer. Here is a sneak peek of the poinsettia in progress.

Poinsettia on fabric

I look forward to sharing more about this project with you soon!

Fabric Quilling

I seems to have taken a detour which means I started working on something I didn’t plan to. Before I get back to where I should be going, which is creating a new mini landscape, I thought I’d share this. I treated some of my hand painted fabric with Terial Magic, a neat spray that makes fabric stiff until it is rinsed out. For this project the Terial Magic will not be removed.

This is my first, uneducated attempt at quilling. Quilling is a technique that uses paper strips to make coils and other decorative pieces. I figured if my fabric could be made stiff like paper I could use it in place of the paper. It was very fun and it could be addicting! Have you Quilled?

quilled_flower_1
First attempt. I like the leaf. The strip was cut 1/4″ wide. Usually 1/8″ wide is what is used. I used a tooth pick instead of the Quill tool (but one is on order!)… Breaking all the rules!
quilled_flower_ann_scott
See the fabric a little better.
pink yellow flower
I’ll be sharing how this fabric is painted in the near future. Strips cut 1/8″ on this one.
rosette
I used my fancy rotary cutter, cut an angle and ended up with this little rosette… not something a “real” quill artist would probably do.