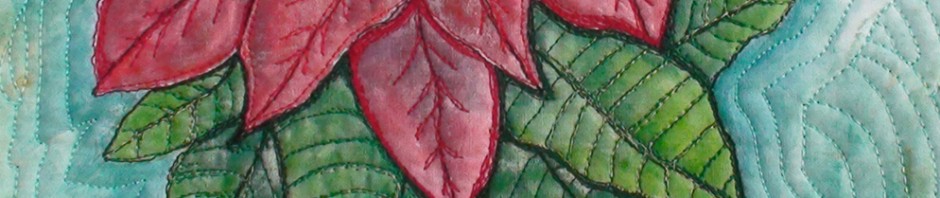
I have been have fun in the studio creating a this new piece. Soon I will be offering the online step by step lessons for creating this pretty poinsettia wall hanging (painting, stitching, and more) . I’ll teach how to make the flower center fabric beads too. The techniques could be used to make any… Continue reading Not Just for the Holidays…
Tag: nature
Overwhelmed but in a Good Way…
I have been finishing up some deadline projects and that feels good. There is always a bit of stress that goes with that and I often swear I’m not going to get myself into that situation again. But then the mind starts going and the ideas start flowing and I’m at it again (my own… Continue reading Overwhelmed but in a Good Way…
Excited Over Small Things
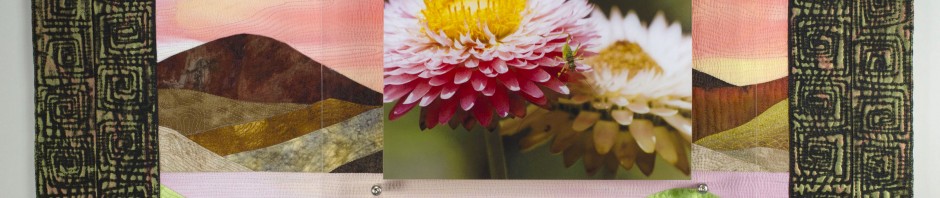
The other day I spotted a large bright green spider on the trumpet flowers in our back garden. At the time I wasn’t sure what type of spider it was so I got my phone to take a photo and just as I did a Skipper butterfly landed near the spider. I was so excited… Continue reading Excited Over Small Things
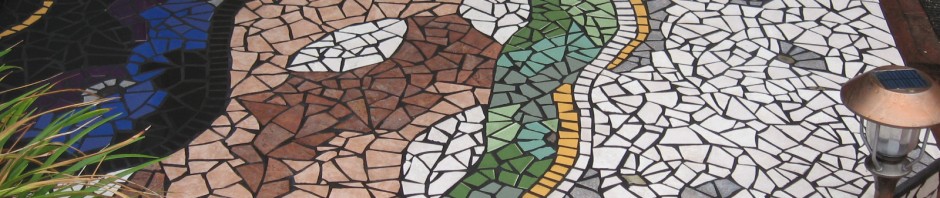
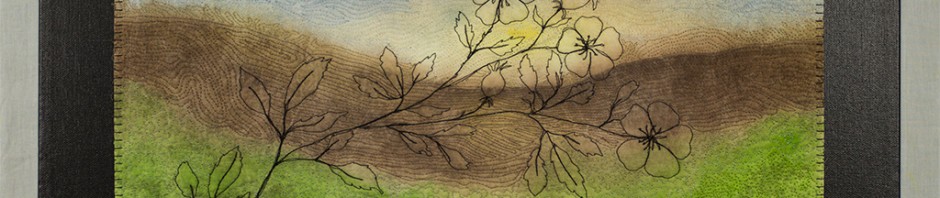
Bark…
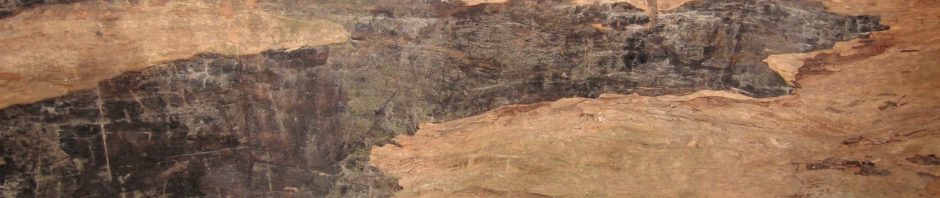
Bark – The sound a dog makes (even though dogs can’t pronounce the letter “b” – or so I’ve been told!), the thin chocolatey confection, the outer covering of a tree. It is curious what we make of words. It seems to me artists and nature-lovers are interested in, even fascinated with tree bark. I… Continue reading Bark…
What’s Up Wednesday
Yesterday I delivered and installed (with the help of my handy assistant) my most recent commissioned art quilt. The best part – the client was very pleased! I’m working on new Curious.com online lessons but I thought it would be fun to take a detour in today’s post and share some cutting up and putting… Continue reading What’s Up Wednesday
Paint or Dye
I was enjoying the posts over at The Snarky Quilter’s (SQ) blog where SQ and a friend share their steps and early results following Mickey Lawler’s techniques to create some painted fabric. They made some neat fabric pieces and a little discussion ensued regarding painted fabric. SQ commented that painters working in oil also paint… Continue reading Paint or Dye
Painting birds and butterflies
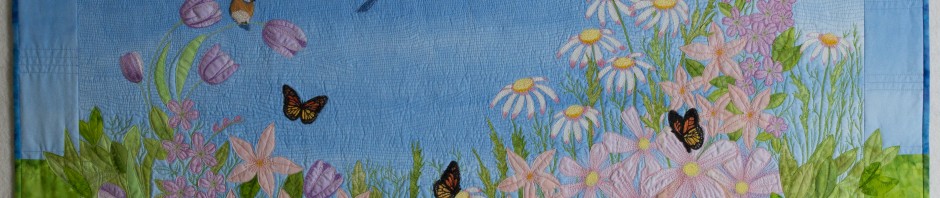
I’m working on a commissioned art quilt that is a little larger than anything I have made recently and it has many pastel colors which is a palette I don’t often use. I’m enjoying the process and the challenge! It was requested that the piece have monarch type butterflies and birds, specifically bluebirds. I am… Continue reading Painting birds and butterflies
Art Quilt Show
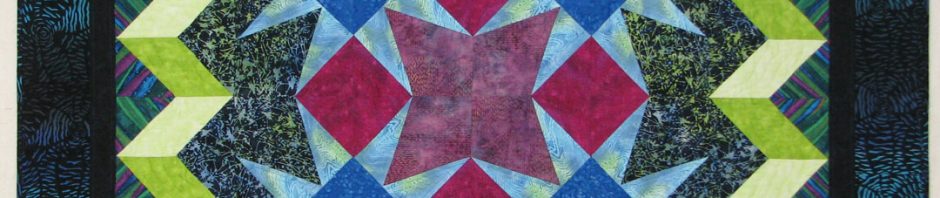
Just for fun and inspiration! Enjoy.