Little announcement – I no longer have a shop or pieces for sale on my website. I’m thinking about life and business and trying to work things out. I still have a lot of art that I would happily sell but for now my website isn’t the place. Some if not all of you know… Continue reading Mini Landscape Giveaway
Tag: fabric
Brown Paper Bonus
A little glitch has caused my Printed, Painted Background Fabric video, that I mentioned in my previous post, to be delayed. In the video I will demonstrate how I achieved these fabrics and papers. Here are a few ways I’m using the backgrounds. I call them backgrounds but they aren’t only that. This final piece… Continue reading Brown Paper Bonus
Painted Fabric and Giveaway
I’m excited to announce that next week I’ll be posting the Photograph and Fiber pieces. There is a little something for everyone – great ideas and, I think, they’re very inspiring. I’ll be showing some of the fabrics I’ve been painting lately in futures posts but for now, here is the most recent sky painting… Continue reading Painted Fabric and Giveaway
Easy Additions
In the past when I presented live lectures to quilt guilds, one of the talks was about making the quilt more our own. We often use one main fabric to help select the other fabrics in a quilt, this is a twist on that. During my recovery ironing is not happening so please excuse any… Continue reading Easy Additions
Painted Sky Fabric and Winners!
If you left a comment for the fabric and Oceanscape top giveaway, thank you! The winners are… Karen G. won the Woods fabric piece. Carol in AK won the Sky Over Oceanscape. Congratulations! Please email your mailing information to me at fiberdesignsbyann@gmail.com Below is my latest painted sky fabric. I’m editing the How-to paint this… Continue reading Painted Sky Fabric and Winners!
I remember…
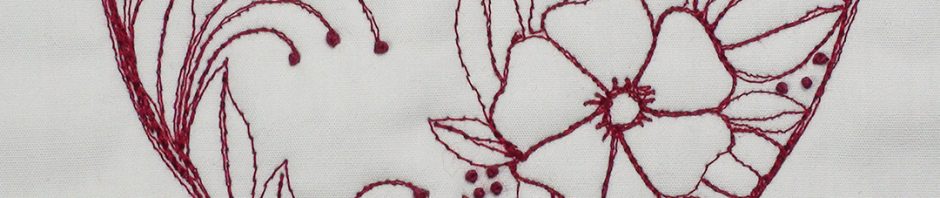
I remember when I got rid of all of my embroidery paraphernalia; when I became a quilter! Before then, for years, I embroidered everything. Then a few years ago I discovered mark making with thread, more specifically, floss. So, off I went to buy all of those embroidery tools and materials, again. But now I… Continue reading I remember…
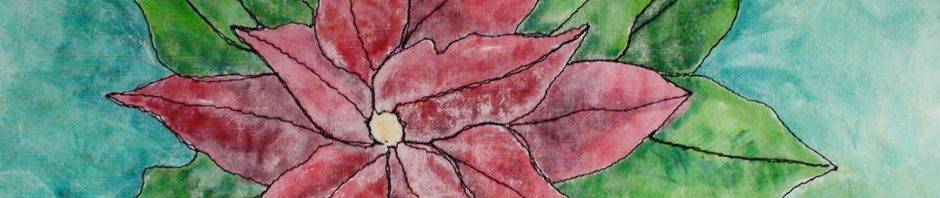
Fabric Play

I was thinking about making some winter cards so I was playing, with sun-printing (again) using leatherleaf ferns and Setasilk and then painting with Neo Color wax pastels. The first three are from the same large piece, I’m floating a card stock “window” over it to find an area I like. I’m not sure where… Continue reading Fabric Play
Surprise and Prize
Last month while listening to a podcast at While She Naps with Abby Glassenberg, I learned that Abby would be giving her listeners an opportunity “to recommend great stuff you’re enjoying right now.” Listeners could record a message on the While She Naps website (technology – so cool!) and on Dec. 4th the podcast aired.… Continue reading Surprise and Prize
Painting Fabric Pinwheels

I rarely make patriotic art but I wanted to make pinwheels using fabric and paint and since the 4th of July is approaching this turned out to be one of those rare occasions. I reached for the Terial Magic spray stabilizer. It worked great, making the fabric behave like paper. Here is the finished piece… Continue reading Painting Fabric Pinwheels
Fabric Challenge and Swap
I was happy to learn that the fabric I submitted for the Quilting Art Fabric Challenge/Swap was published in their Dec 2016/Jan2017 magazine. They didn’t publish all of the submissions but I was impression by the variety and would love to be able to ask many of the artists how exactly they achieved their results.… Continue reading Fabric Challenge and Swap