I laugh when I think back to the days when I would only work on one project at a time, start to finish, and they were usually pretty big size (quilt) projects. Now I’m usually working on at least three projects at a time. Maybe it’s because I’m older and there are so many things… Continue reading Changing Ways
Category: Seasonal
Challenges
I was scrolling through Instagram recently and noticed several people taking part in different time sensitive or daily challenges. Back in November 2020 I challenged myself, and anyone interested in joining me, to Needlevember. Each day in November I/we would share something we stitched. I enjoyed the stitching but having something to show every day… Continue reading Challenges
Redwork Ornaments
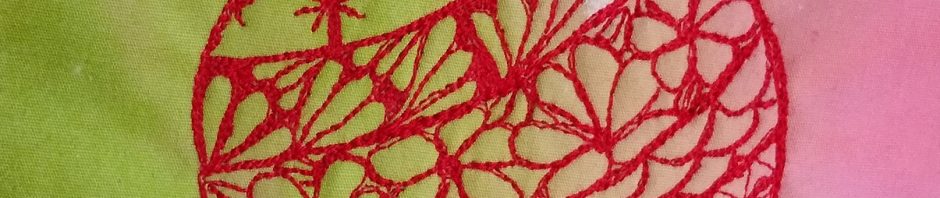
My last day of #Needlevember was a free-motion quilted ornament. As I did with many of the November stitched pieces, I sketched or drew a little picture of what I was going to attempt to stitch, then instead of drawing on the fabric I just look at the drawing as I free-motion quilted. It does… Continue reading Redwork Ornaments
Unmasking the Soul
I teased a bit about this project last post, there I shared some sculpted fingers and a painted eye, well, I didn’t used those fingers or the eye. I decided to use paper clay (keeping with the fiber materials) for the fingers/hand and paint the eyes on a flat surface (still on silk) instead of… Continue reading Unmasking the Soul
Reindeer?
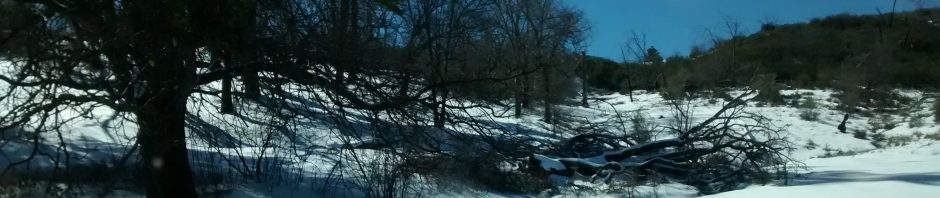
This photo is from the great Redwood Forest. I took it because it had fibery bits and I saw the head of a reindeer, sans the antlers, in it. Can you see it? I hope you have Happy Holidays and a Peaceful and creative New Year!
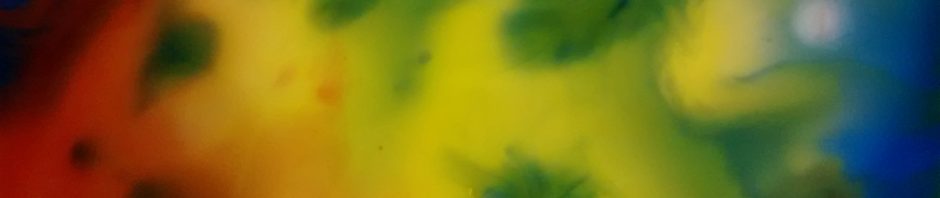
Fabric Play

I was thinking about making some winter cards so I was playing, with sun-printing (again) using leatherleaf ferns and Setasilk and then painting with Neo Color wax pastels. The first three are from the same large piece, I’m floating a card stock “window” over it to find an area I like. I’m not sure where… Continue reading Fabric Play
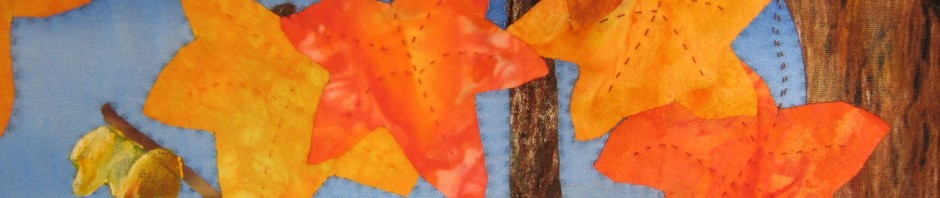
Harvest Art
Still waiting for Fall after the 90° Thanksgiving and realizing December is almost here! This turkey was created for my grandnieces (7 and 6) who had a good time coloring them during our Thanksgiving family gathering. I gave them each a plain turkey sheet along with one with this MeAnndered turkey below. It was interesting… Continue reading Harvest Art
Happy Thanksgiving!
I will be sharing Thanksgiving Day with my family… there will be thirty of us. Thankfully we will be in my sister and brother-in-law’s air conditioned home, because it is supposed to be around 90° here! I’m more of a “thankful to…” than a “thankful for…” kind of person. And today I’m very thankful that… Continue reading Happy Thanksgiving!
Treats…
My daughter and I have been starting our morning walks in the dark lately. This morning many of the Halloween decorations were still lit so I snapped a few pictures. They aren’t very good but you may get an idea of what some people in the neighboring hood do for this time of year. I… Continue reading Treats…
Painting Fabric Pinwheels

I rarely make patriotic art but I wanted to make pinwheels using fabric and paint and since the 4th of July is approaching this turned out to be one of those rare occasions. I reached for the Terial Magic spray stabilizer. It worked great, making the fabric behave like paper. Here is the finished piece… Continue reading Painting Fabric Pinwheels