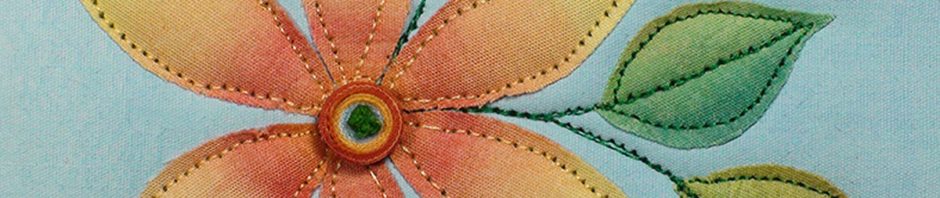
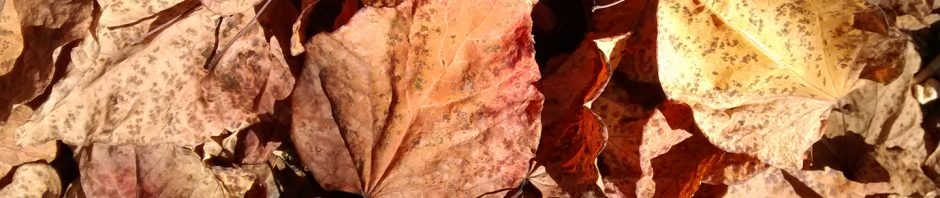
Back in June I had the pleasure of teaching my How to Paint Fabric Leaves class at Visions Art Museum . The class was full, with fifteen willing participants, who surprised the heck out of me. They were so enthusiastic and by the end of the class were experimenting and coming up with their own… Continue reading More Painted Leaves
Category: fiber art
Painting Mottled Fabric Video
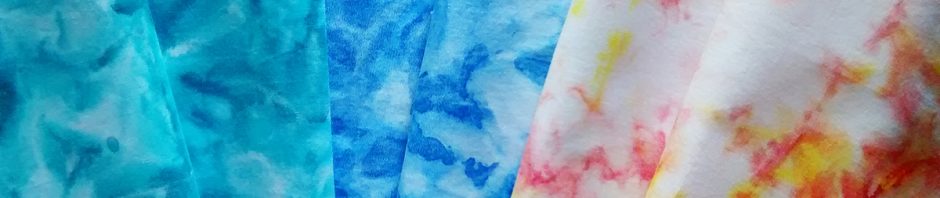
I’ve come up with a new technique and posted a video for a fun hand painted fabric using Terial Magic, the spray stabilizer I’ve written about in the past. I like to have a variety of different painted fabrics to use (don’t we all!) as backgrounds for stamping, stenciling, embroidery, and/or machine stitching or just… Continue reading Painting Mottled Fabric Video
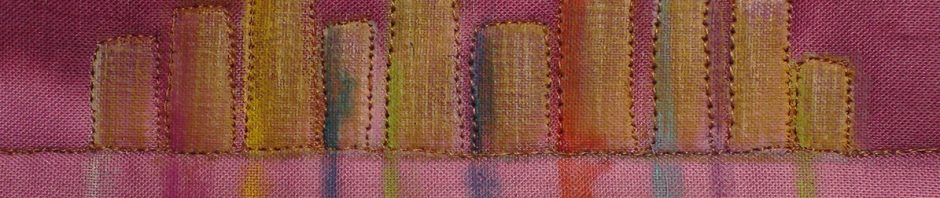
The All White Landscape
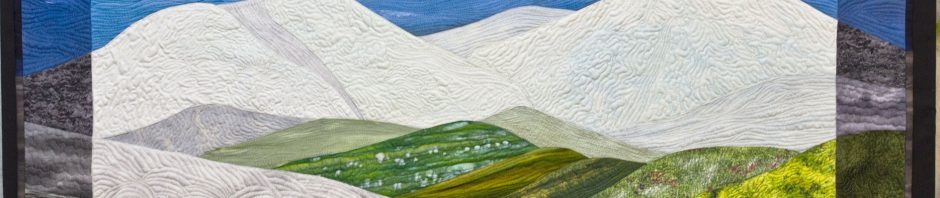
As I mentioned in my last post, I’m making a series of lessons showing how I make different elements for a mini fabric landscapes. What I neglected to mention is that I would be starting with white fabric (Thank you, Snarky Quilter!). Here is the piece in progress, which means these pieces are not attached… Continue reading The All White Landscape
Mini Elements
I’m working on some techniques for making elements for mini landscapes quilt/pieces. Here are the rocks. I’ll share this technique as soon as I can. It is super easy, quick and fun… more to come.
Always learning…
I’m working up a new Curious.com lesson and I thought I knew exactly where I was headed but the gel print plate disagreed! I did end up getting a mono print on paper that I’ll use somewhere but it’s useless for the lesson. Maybe I’ll do some MeAnndering in the white areas or some stamping… Continue reading Always learning…
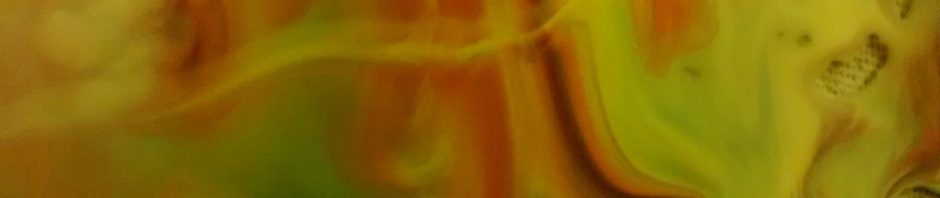
Fabric Play

I was thinking about making some winter cards so I was playing, with sun-printing (again) using leatherleaf ferns and Setasilk and then painting with Neo Color wax pastels. The first three are from the same large piece, I’m floating a card stock “window” over it to find an area I like. I’m not sure where… Continue reading Fabric Play
When a Yarn is More Than a Yarn
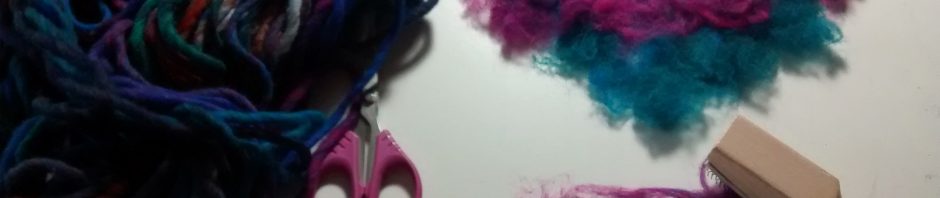
Not too long ago after spending some time (quality time!) walking through the wonderful exhibits at Visions Art Museum, I went for a stroll through the verandas at Liberty Station and noticed a light and airy shop that had yarn, beautiful yarn. I walked in and was greeted by Sara, the owner of Apricot Yarn. I… Continue reading When a Yarn is More Than a Yarn
This Time of Year…
I was almost a Halloween baby having been born the day before and have always enjoyed the end of October. When our kids were little I loved making their costumes and painting their faces. My daughter is an artist and draws original cards for most special occasions around here and they usually feature a cat.… Continue reading This Time of Year…
Painting Fabric Pinwheels
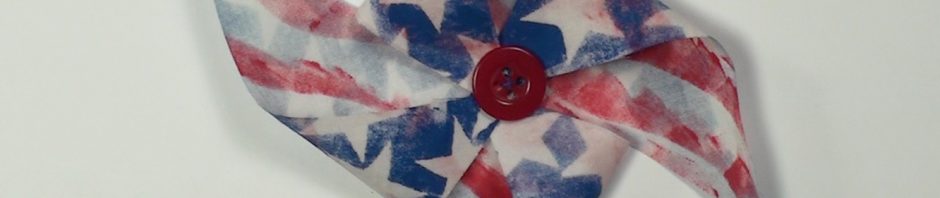
I rarely make patriotic art but I wanted to make pinwheels using fabric and paint and since the 4th of July is approaching this turned out to be one of those rare occasions. I reached for the Terial Magic spray stabilizer. It worked great, making the fabric behave like paper. Here is the finished piece… Continue reading Painting Fabric Pinwheels
Fabric Postcards!
For those of you who will be in San Diego, I will be teaching a class on Thursday, June 29, 2017 at Rosie’s Calico Cupboard quilt shop. The class title is “How to Make a Fabric Postcard.” We’ll use commercial fabric to make a basic postcard card and we’ll play with some surface design techniques… Continue reading Fabric Postcards!